Flowers are one of my favorite things to paint. They are easy to find, so they are always available as reference, and once you learn some basic painting techniques, you can paint many different types of flowers pretty easily. Since autumn is just around the corner, I decided to paint some chrysanthemums with acrylic paints and I’d love to walk you through the process! Continue reading for step by step flower painting instructions.
Here’s what you will need to paint your flowers:
• a surface to paint on such as primed canvas or wood, or heavyweight acrylic paper. (I used Grumbacher 140 lb cold press acrylic paper, which can be purchased as a pad with 15 sheets)
• acrylic paints in the following colors: burnt umber, burnt sienna, jenkins green, cadmium yellow medium, titan buff, quinacridone magenta, pyrrole red light *note: I’m using Golden brand fluid acrylic paints in this example. You can choose to use your own colors or brands if that’s what you like or have on hand, keeping in mind that hues and color names vary from brand to brand. Just do your best to match what I am using if you want it to look the same as mine. You can learn more about selecting acrylic paints here.
• paint brushes: Round watercolor brushes in size #6 and size #2 *note; if you would like to paint larger flowers than I am, please adjust your brush size accordingly.
• a palette to hold your paints
• clean water and a rag
STEP 1:
Arrange your colors on your palette.
STEP 2:
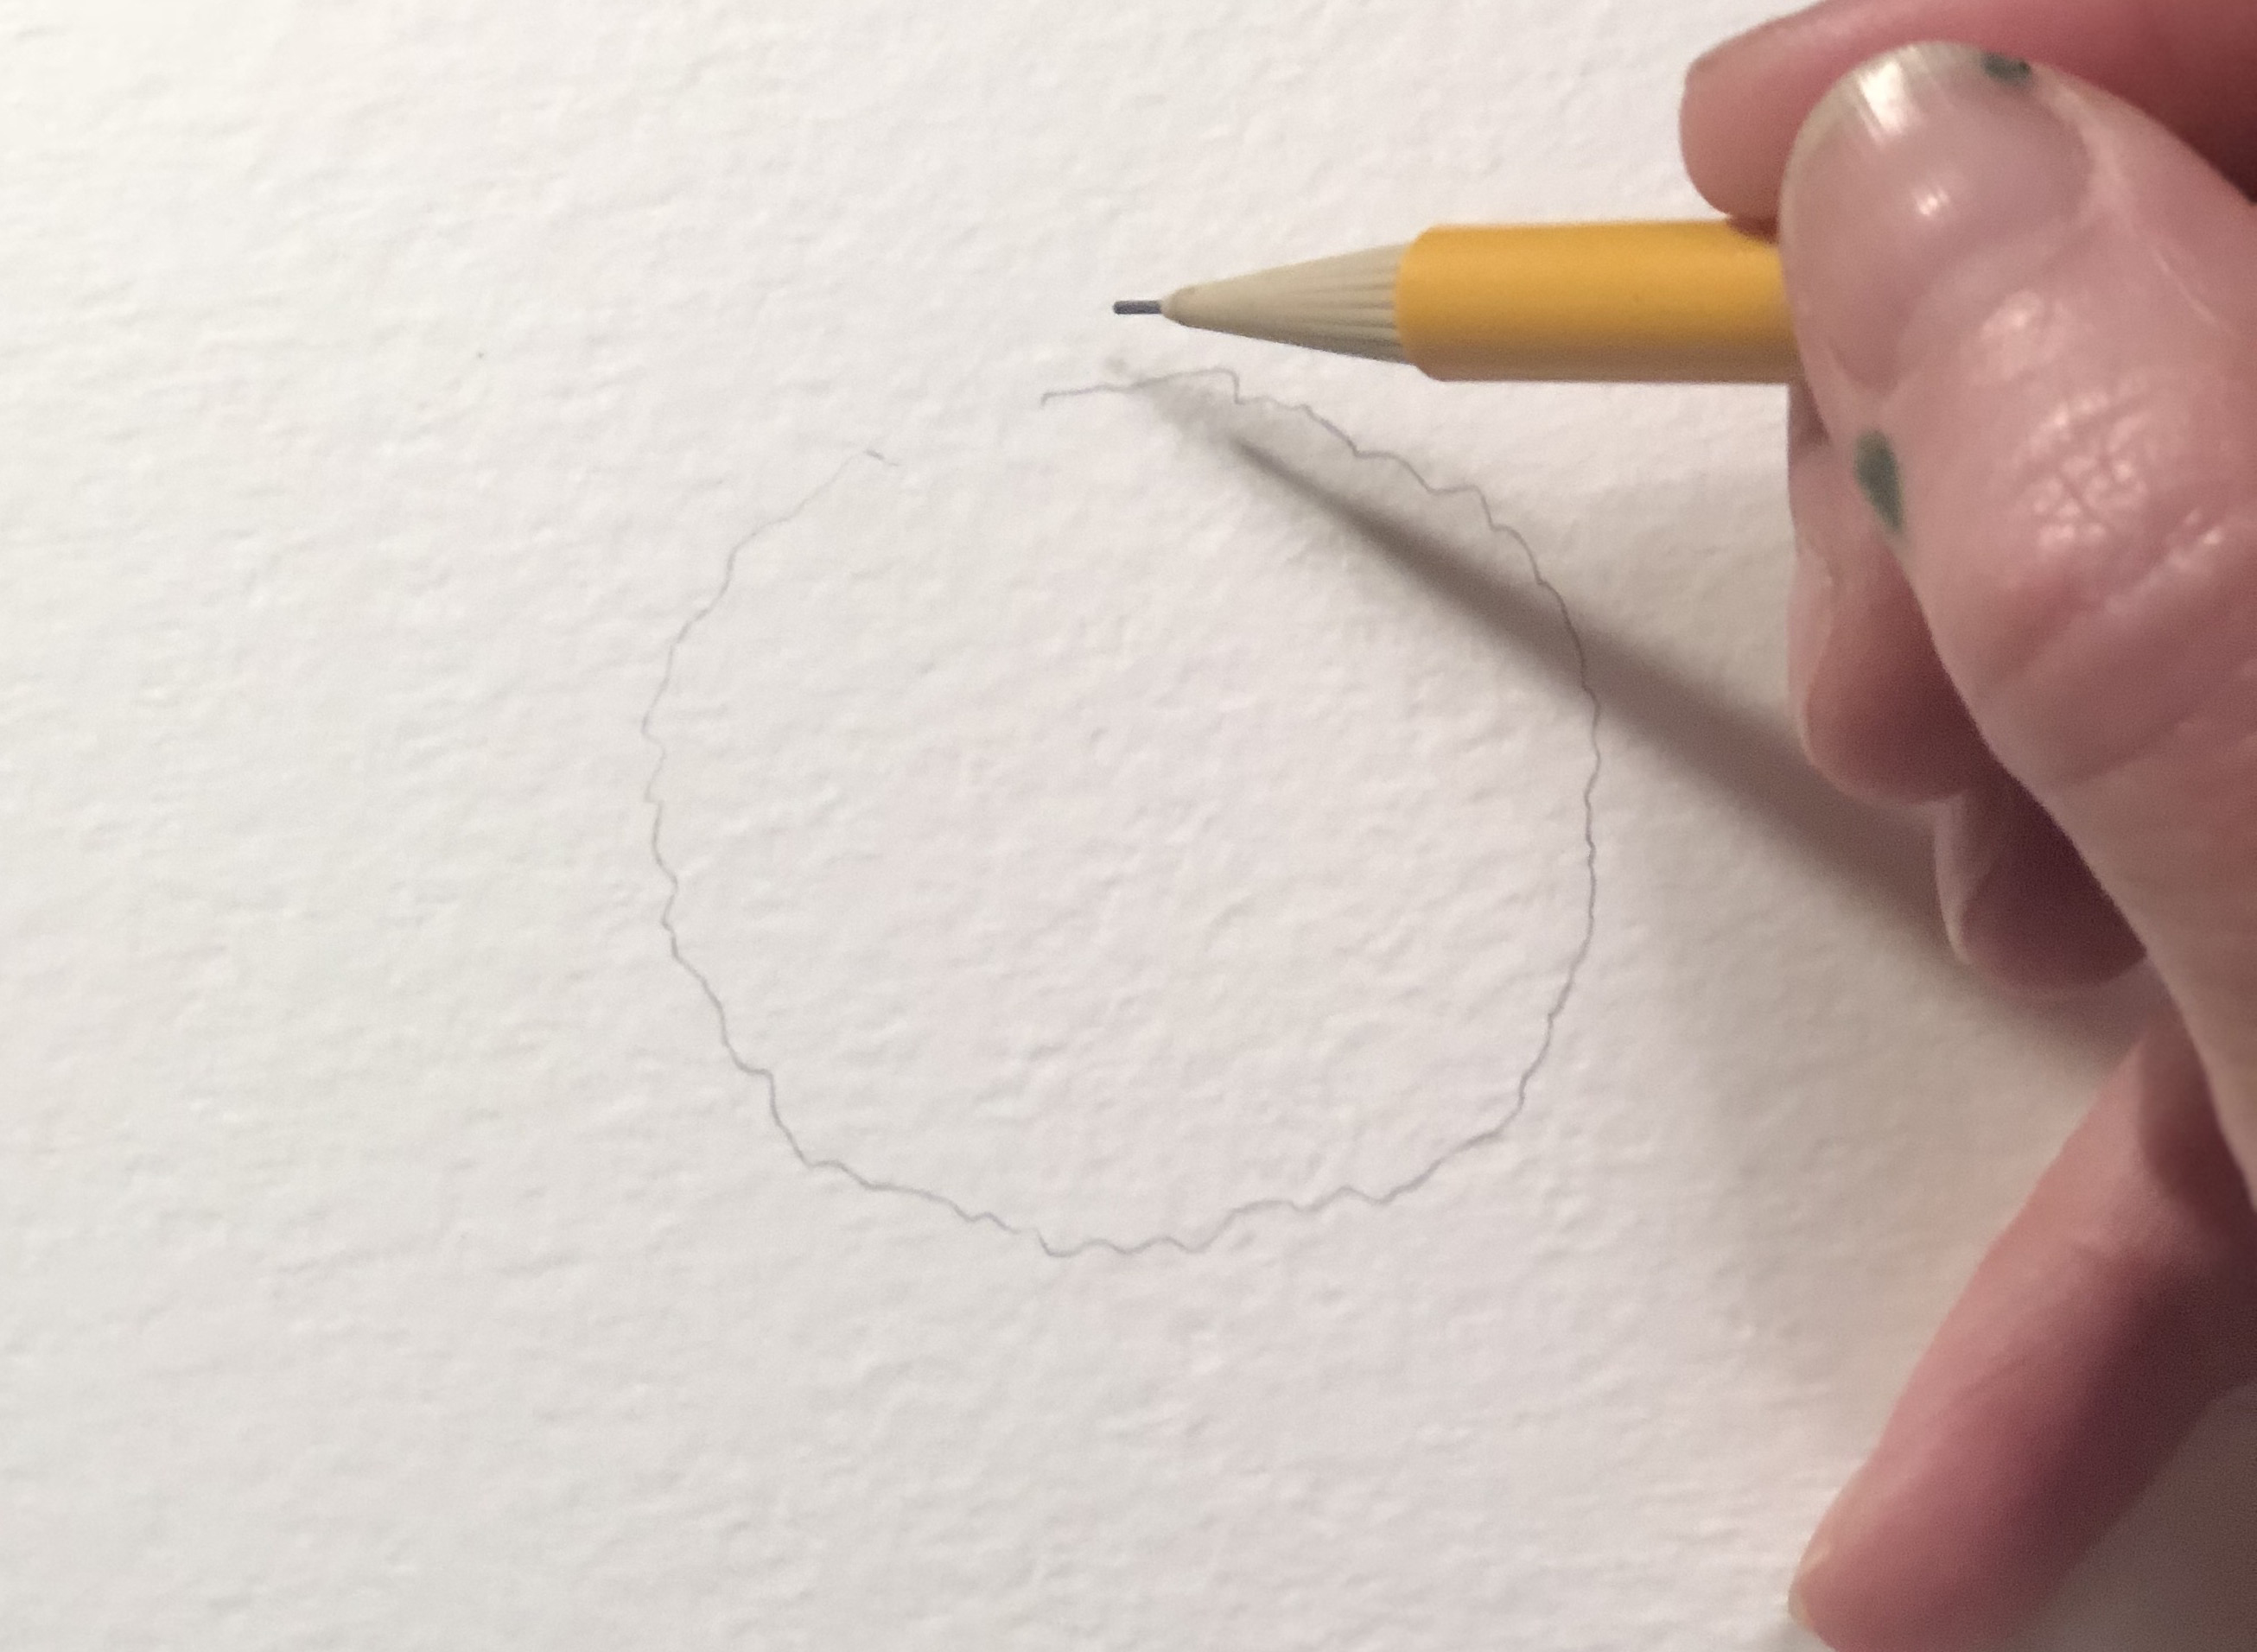
Sketch out your mums very lightly with pencil. The mums I am painting here are approximately 2.25″ wide.
STEP 3:
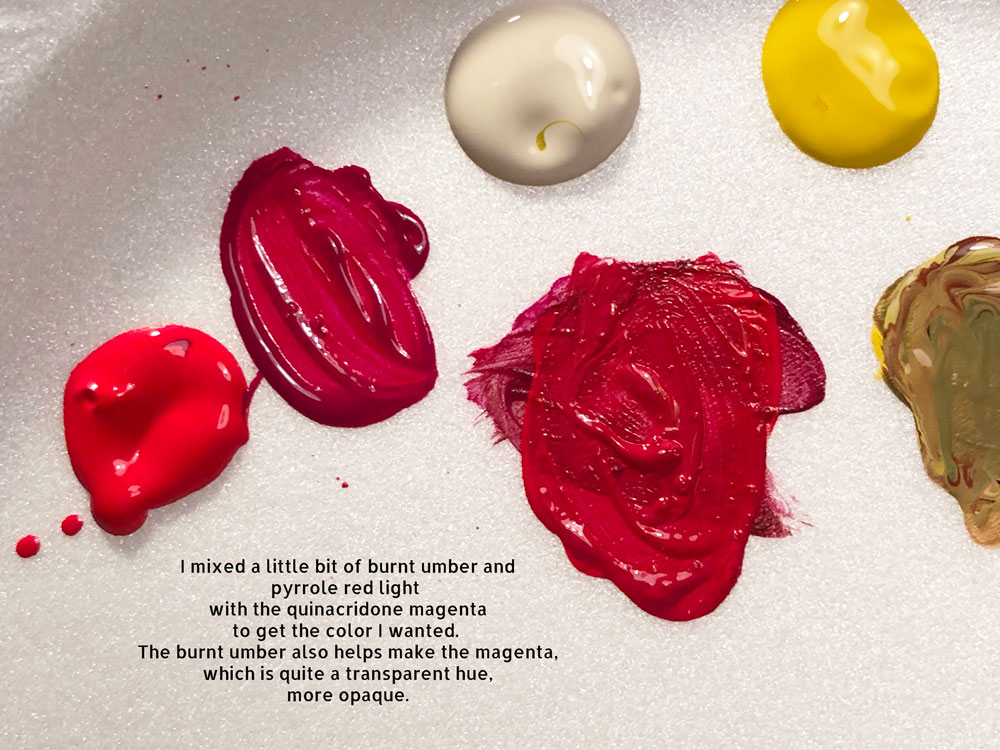
Mix your base red color for your flower.
STEP 4:
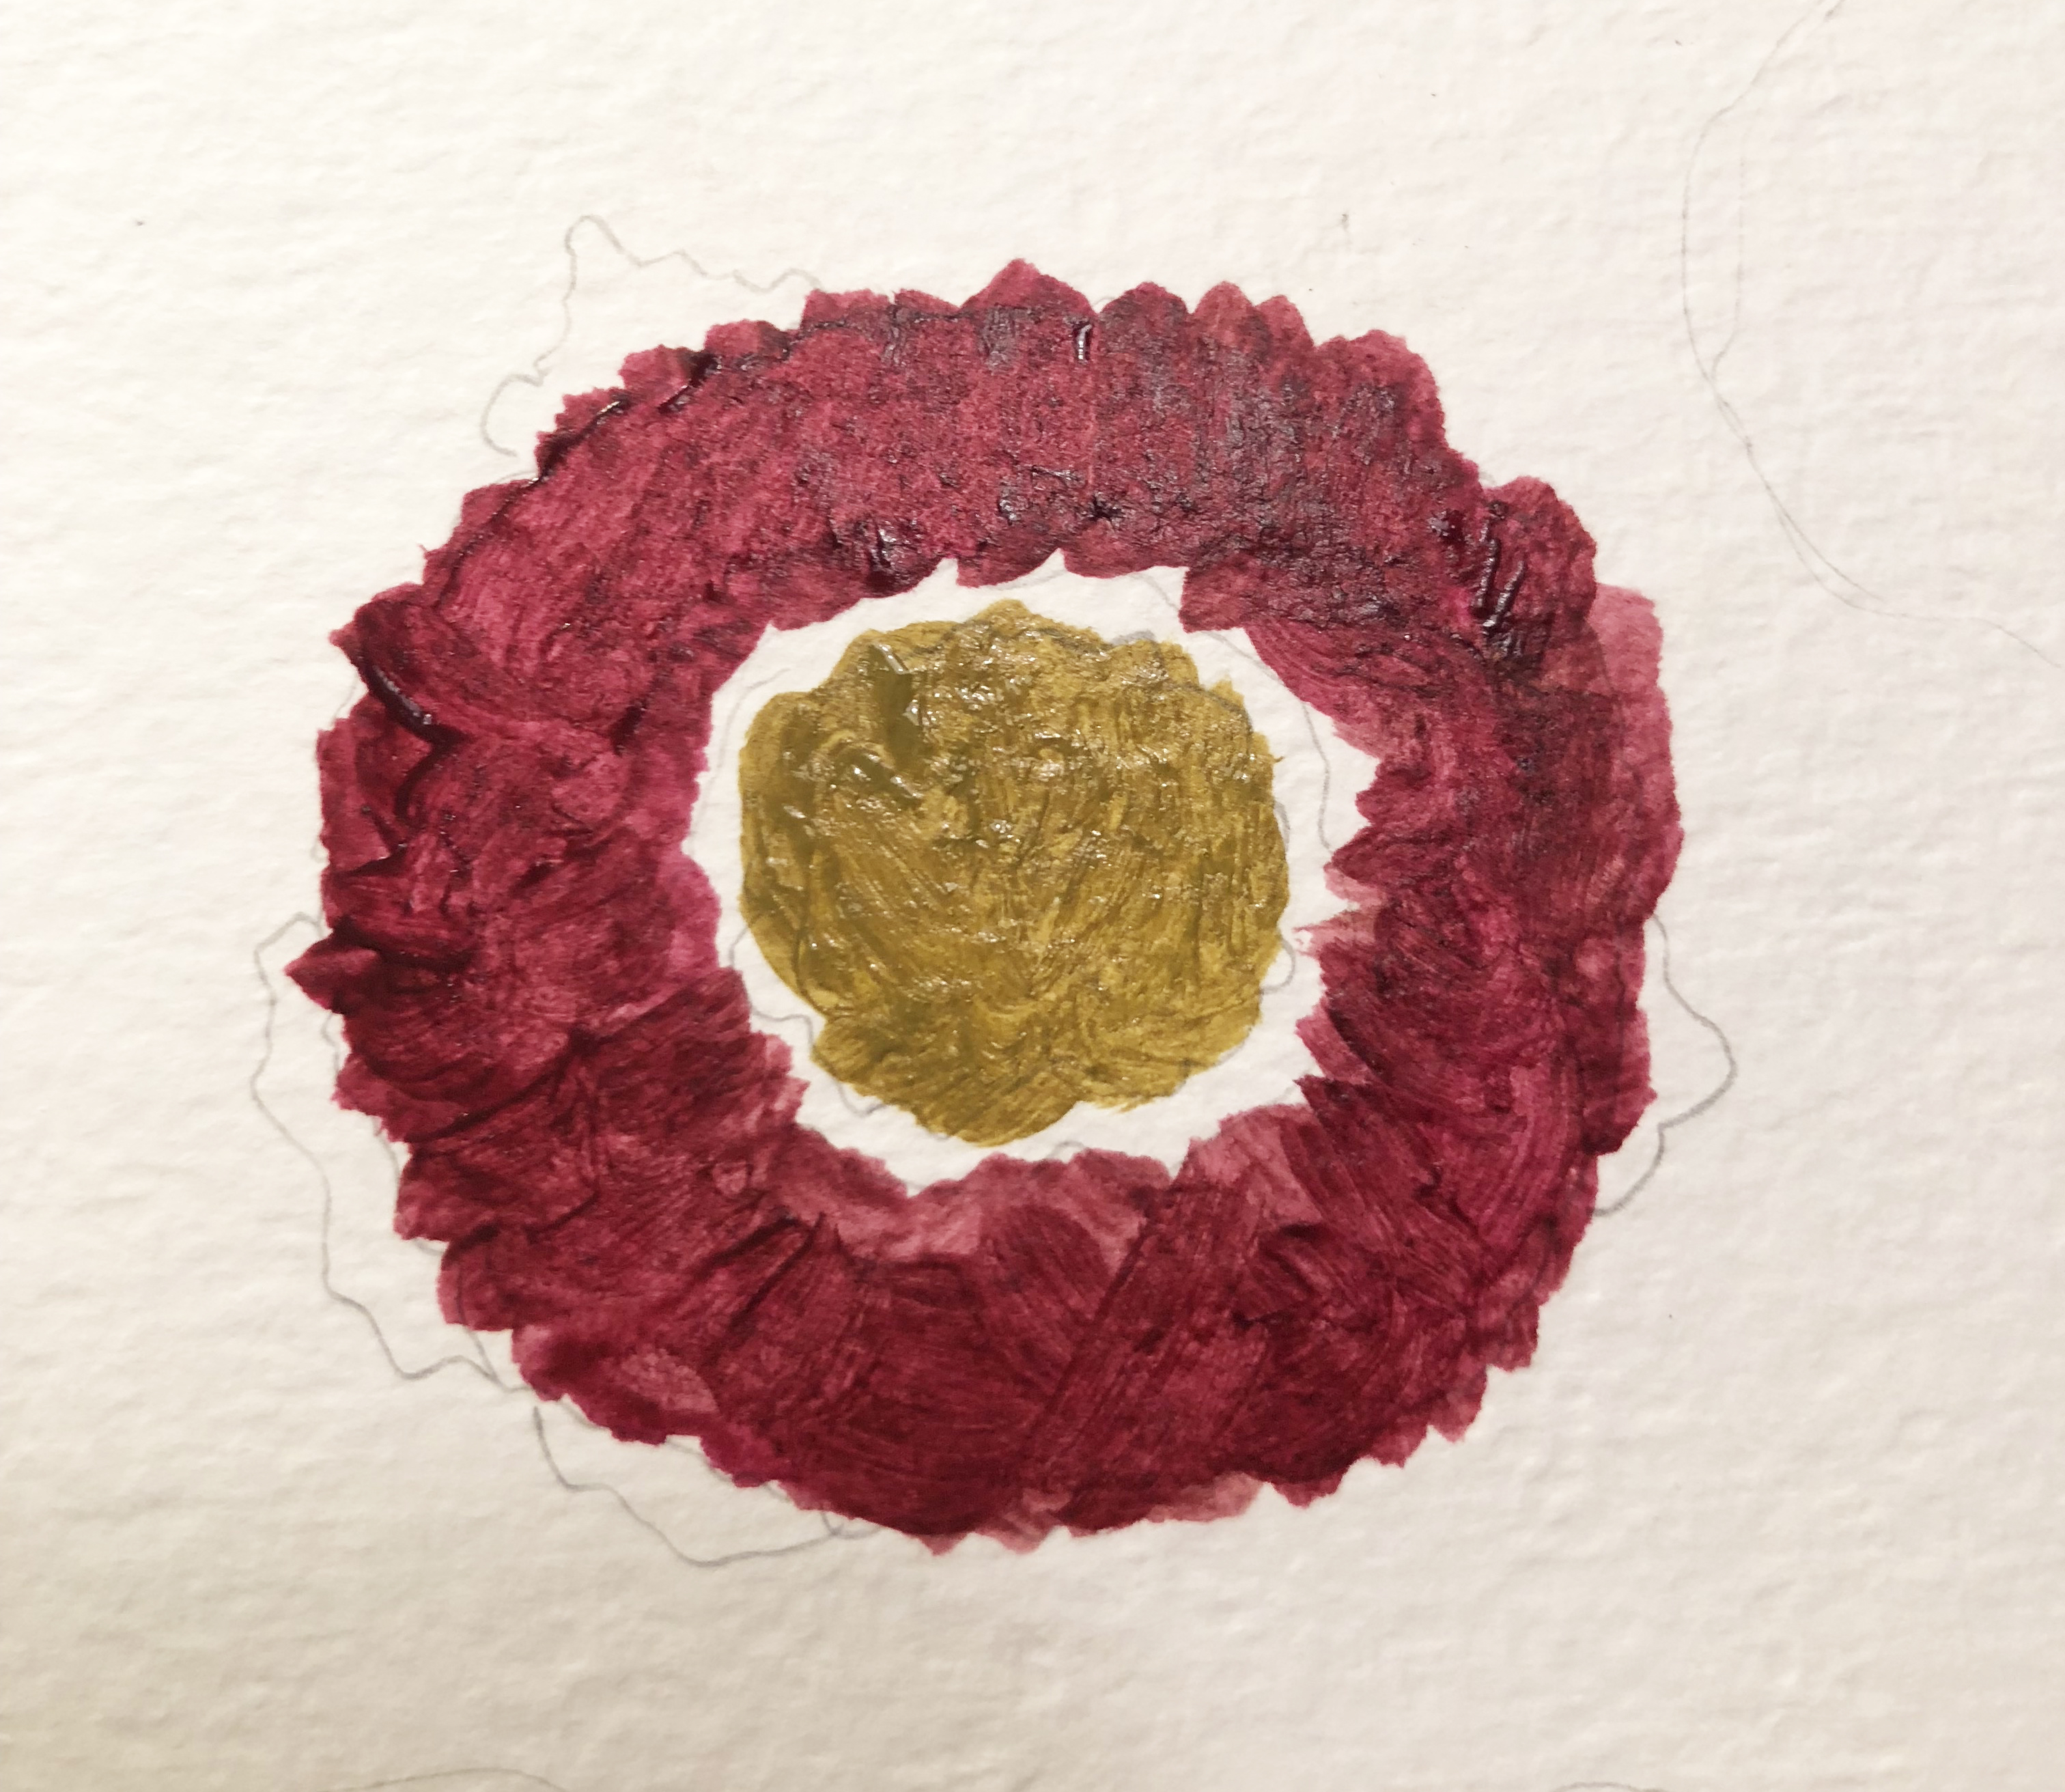
Using your #6 round brush, add the base color around the outside of the flower.
STEP 5:
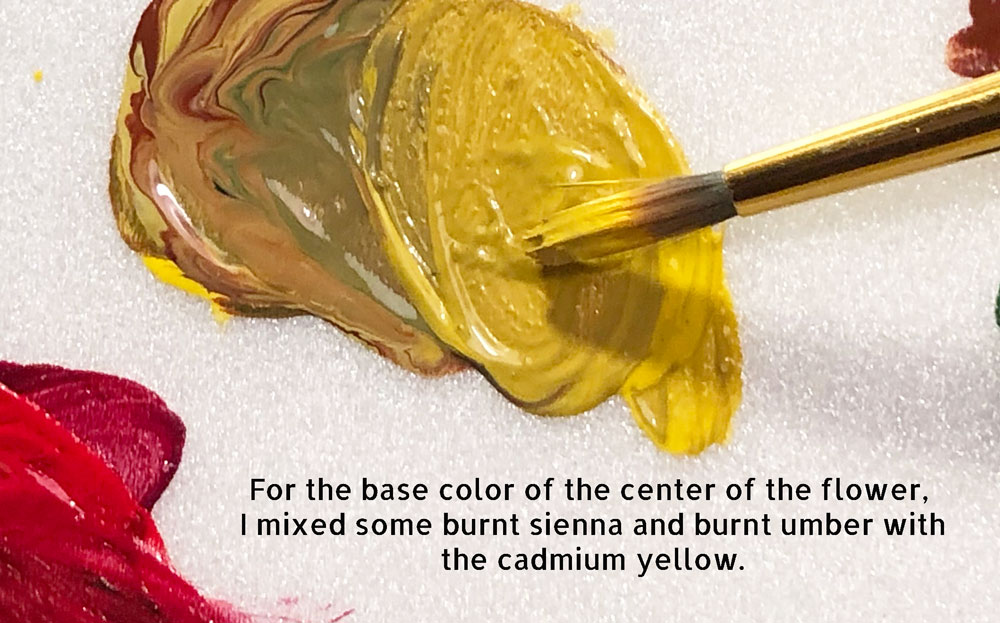
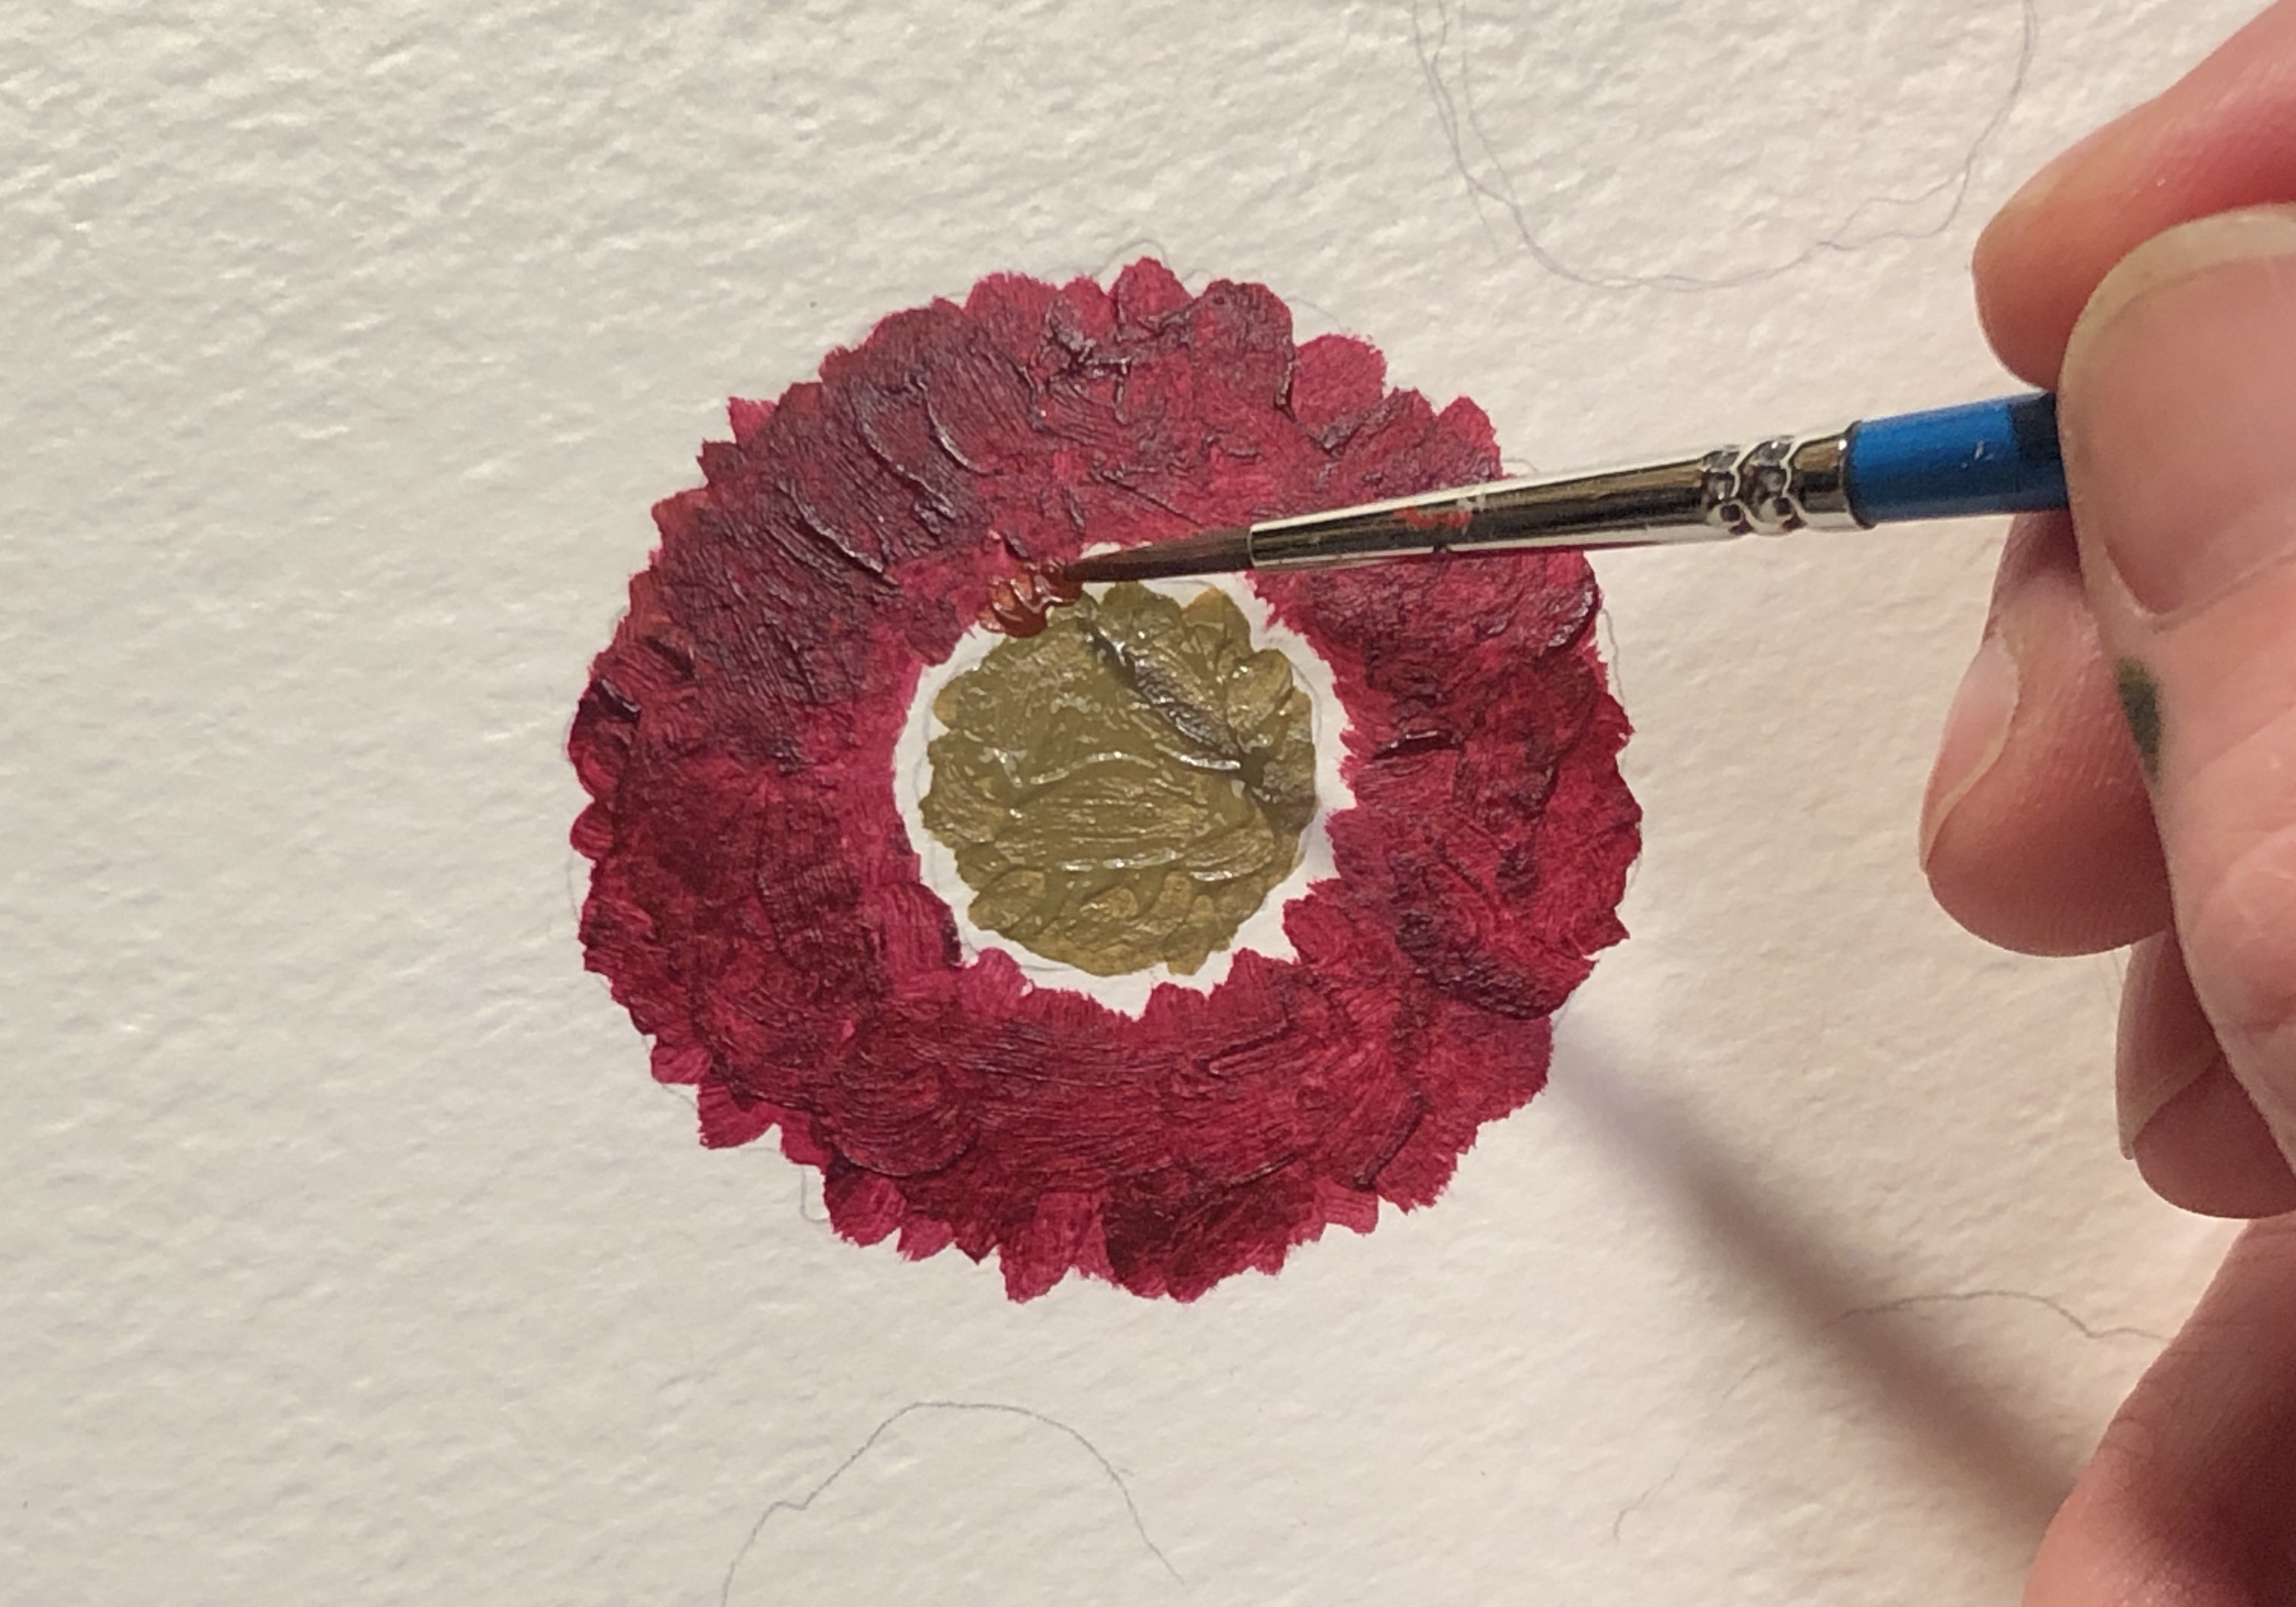
Mix the yellow-green color for the center of the flower by combining cadmium yellow medium with burnt sienna and burnt umber.
STEP 6:
Paint the center of the flower and let dry.
STEP 7:
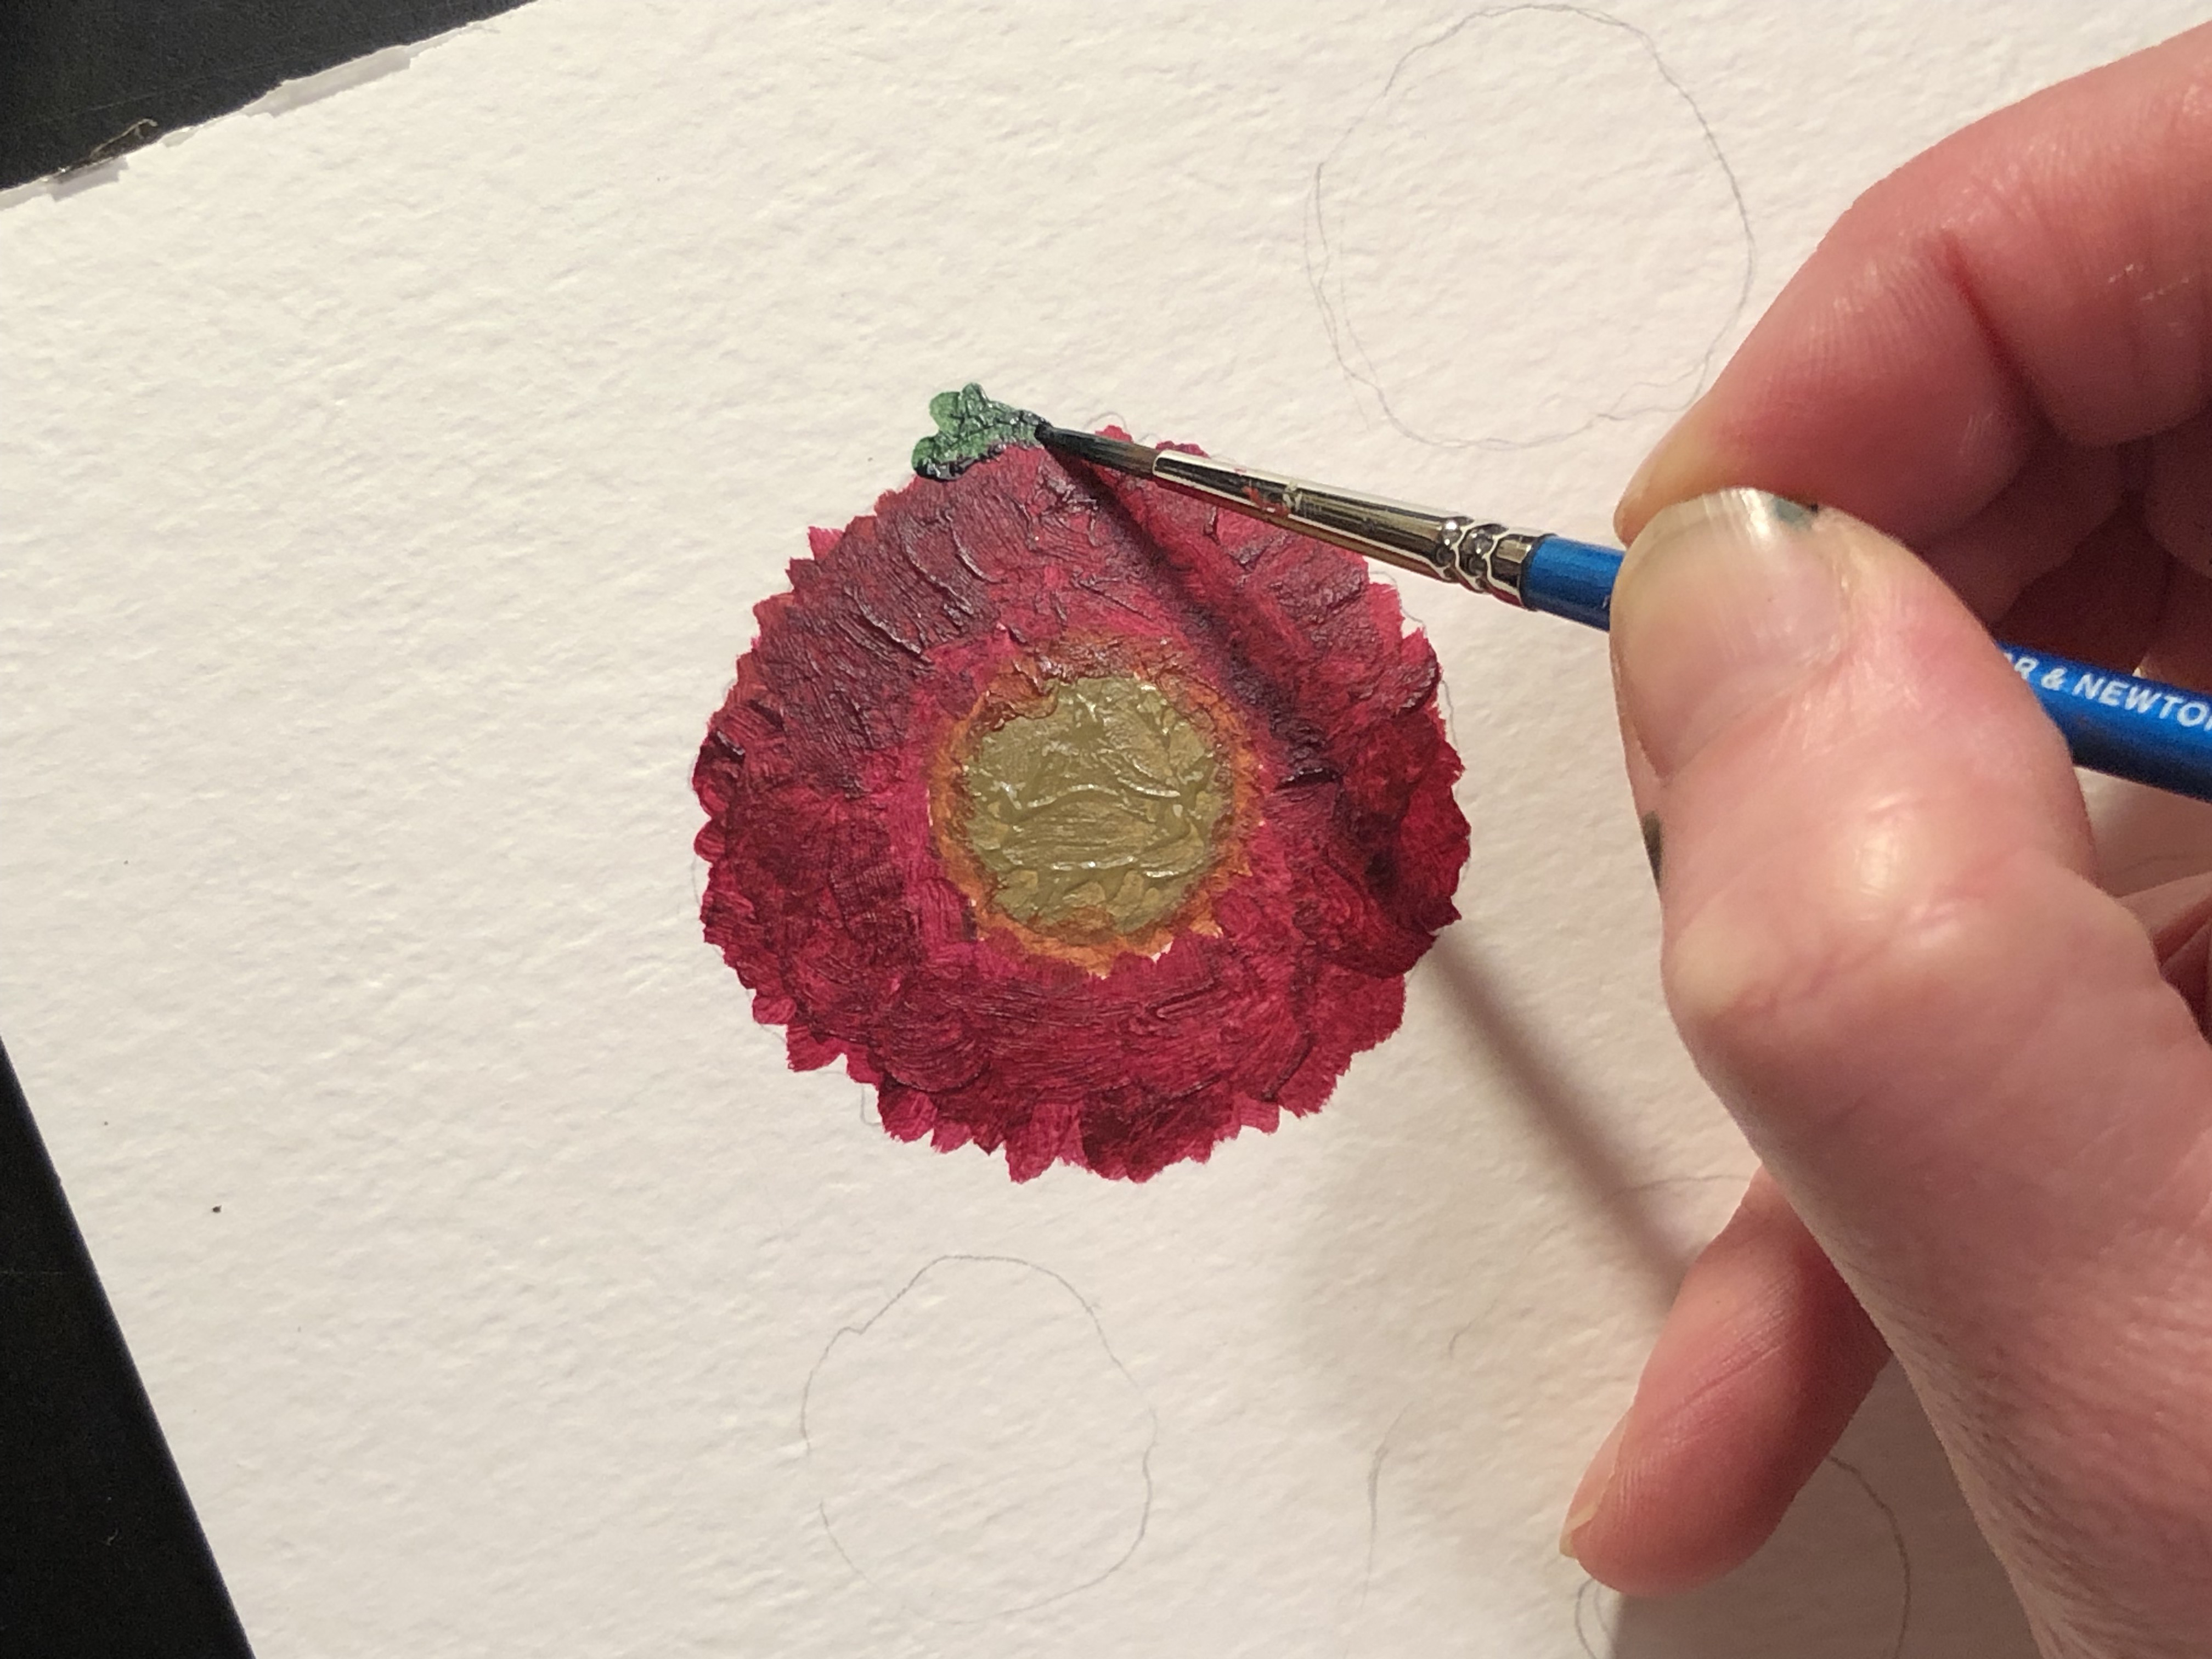
Add burnt sienna around the yellow center of the flower with your smaller round brush.
STEP 8:
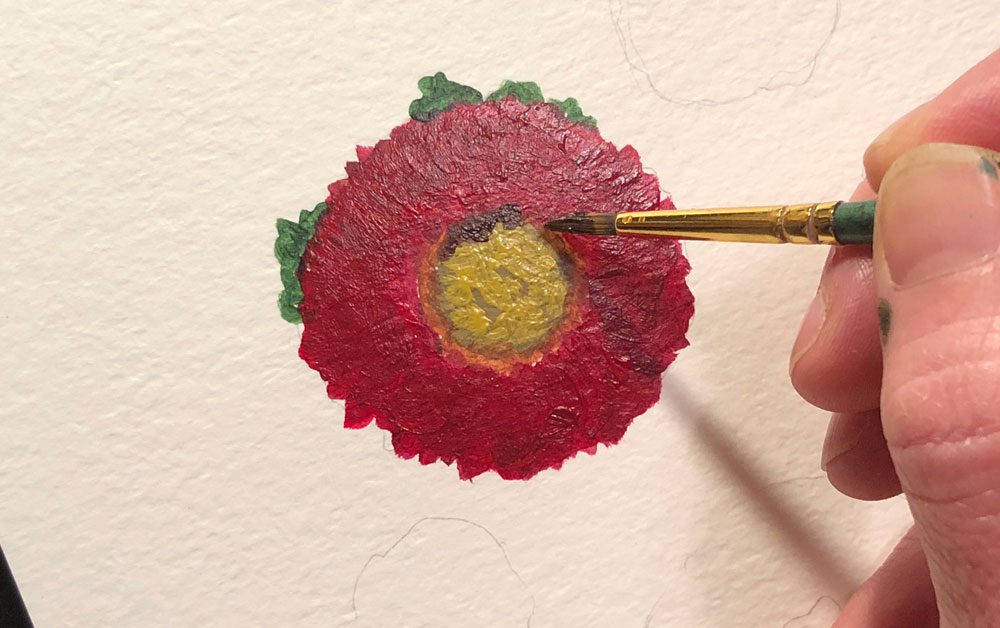
Add some green leaves peeking out in a few places around the edge of the flower with jenkins green.
STEP 9:
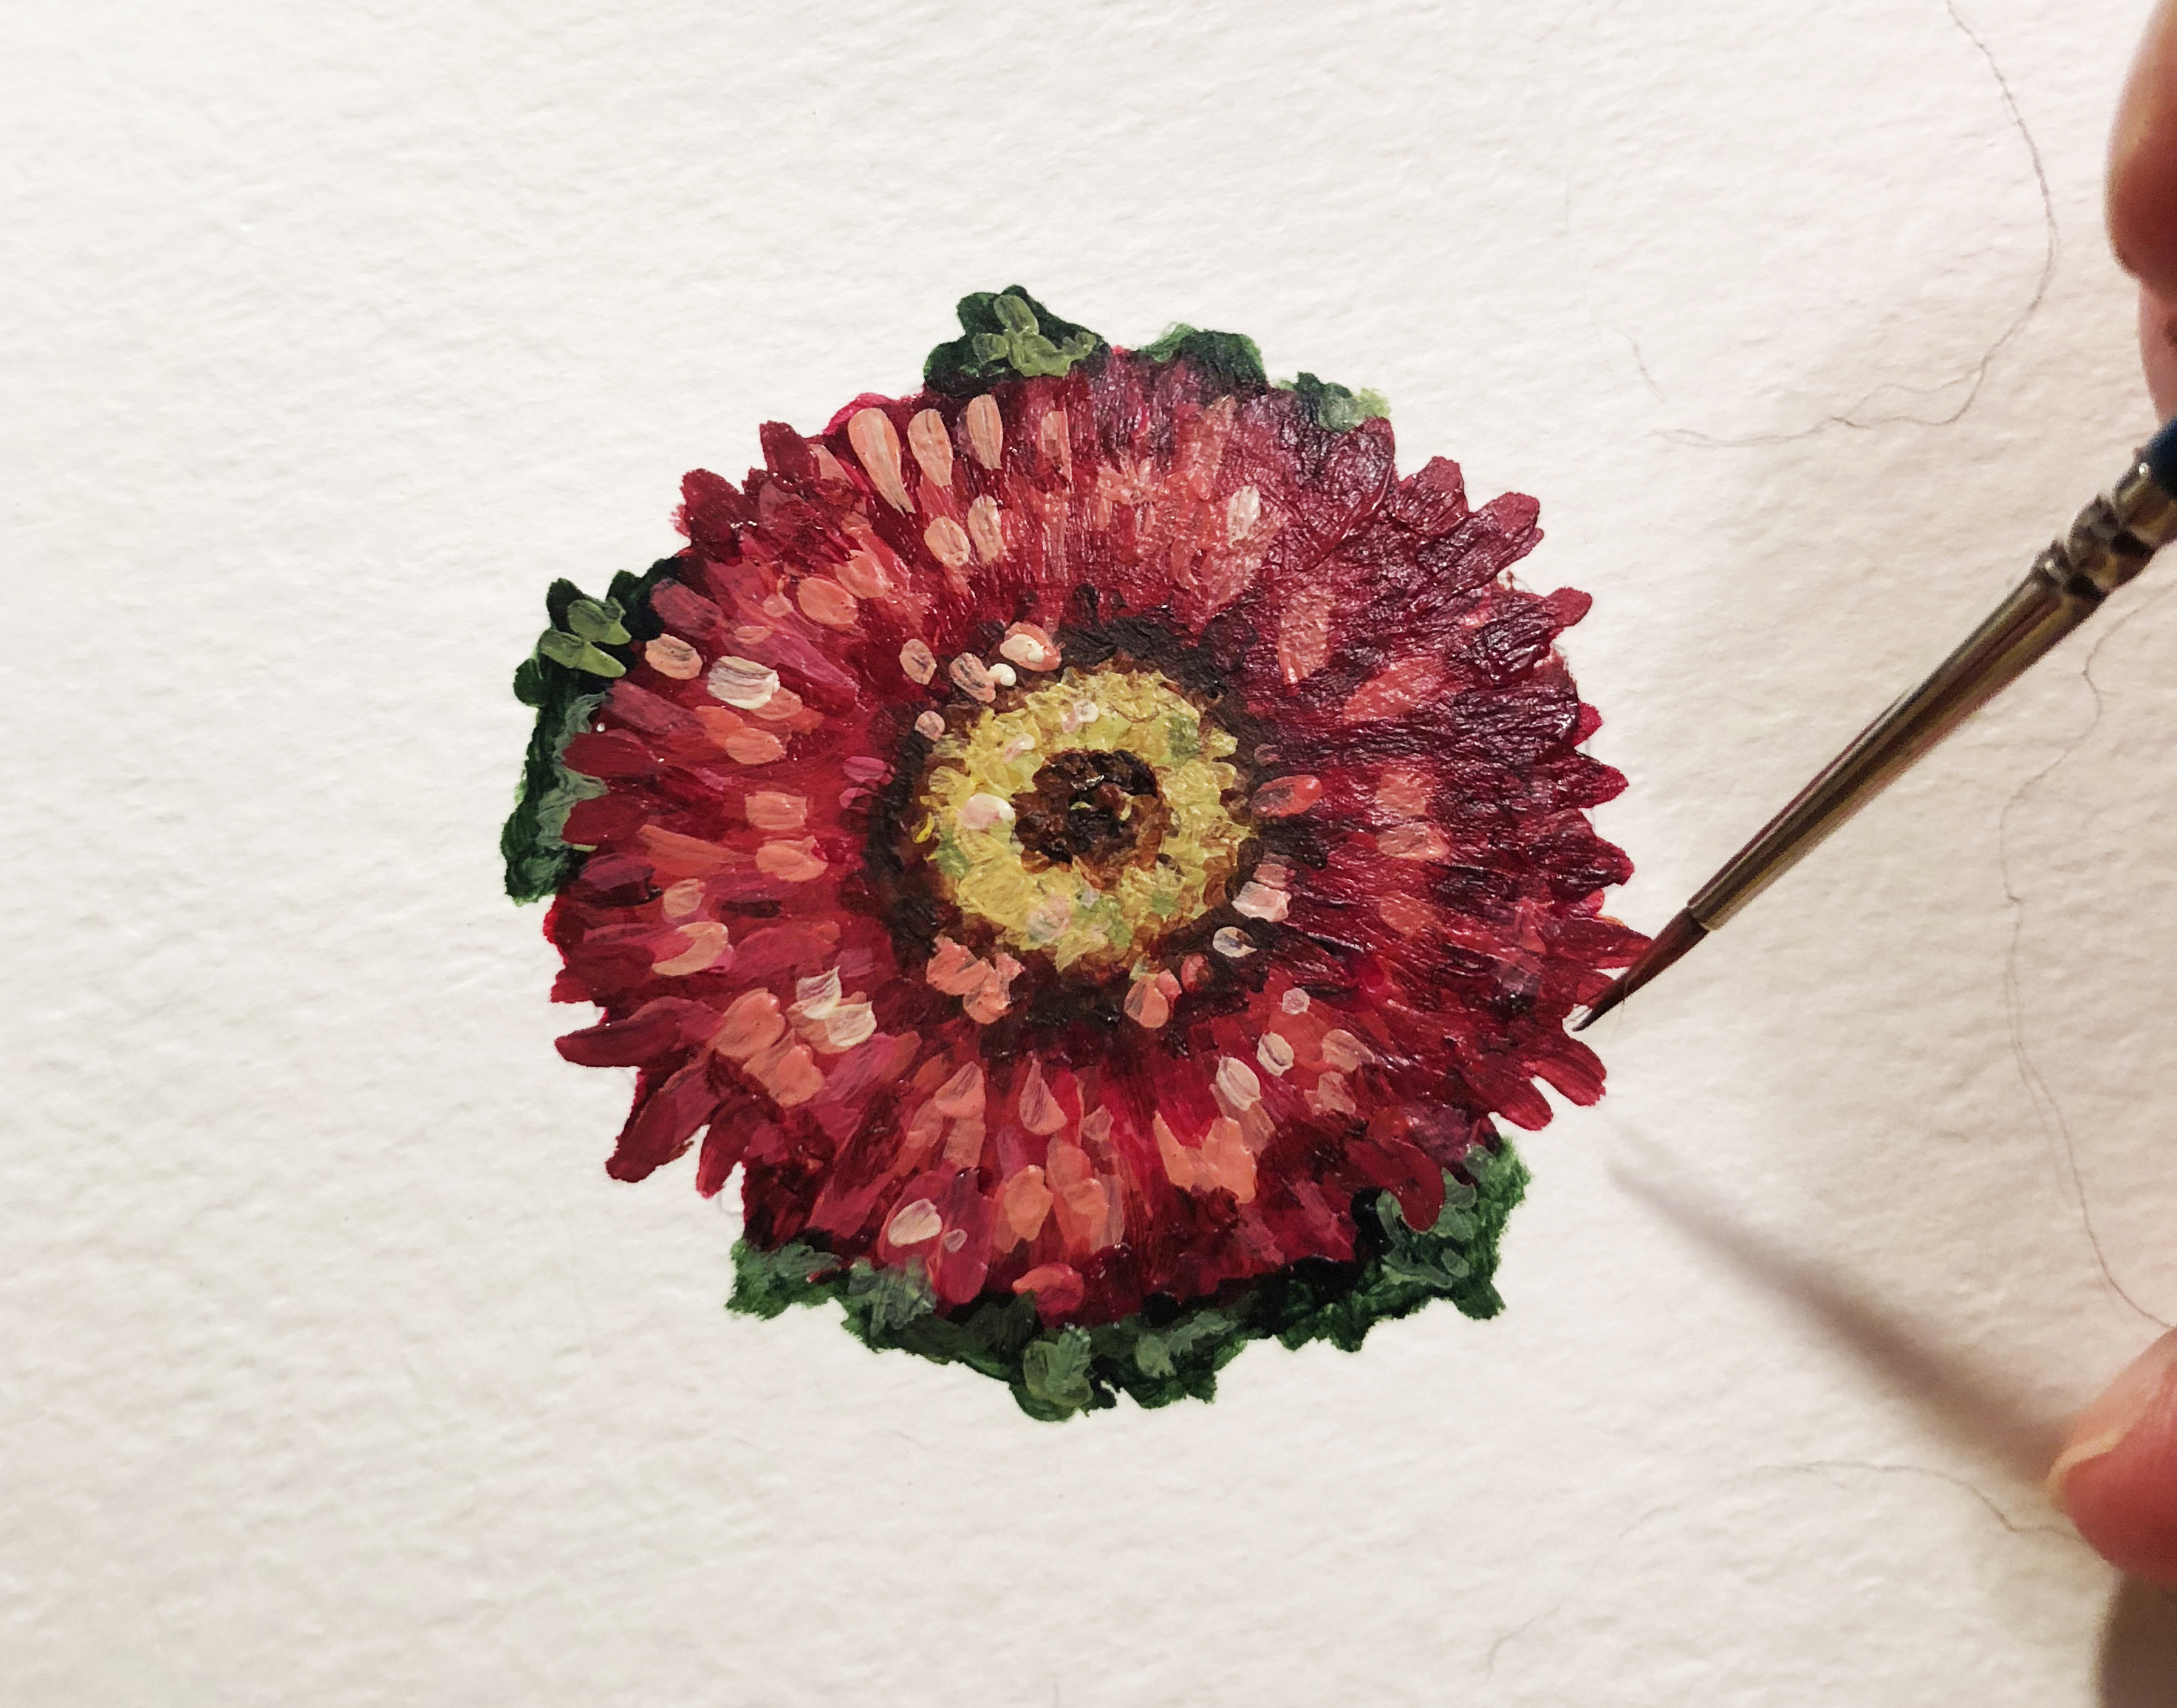
Start adding details. Add some lighter yellow to the center and burnt umber around and in the middle of the flower center. Let some of the first layer show through to create dimension and interest.
STEP 10:
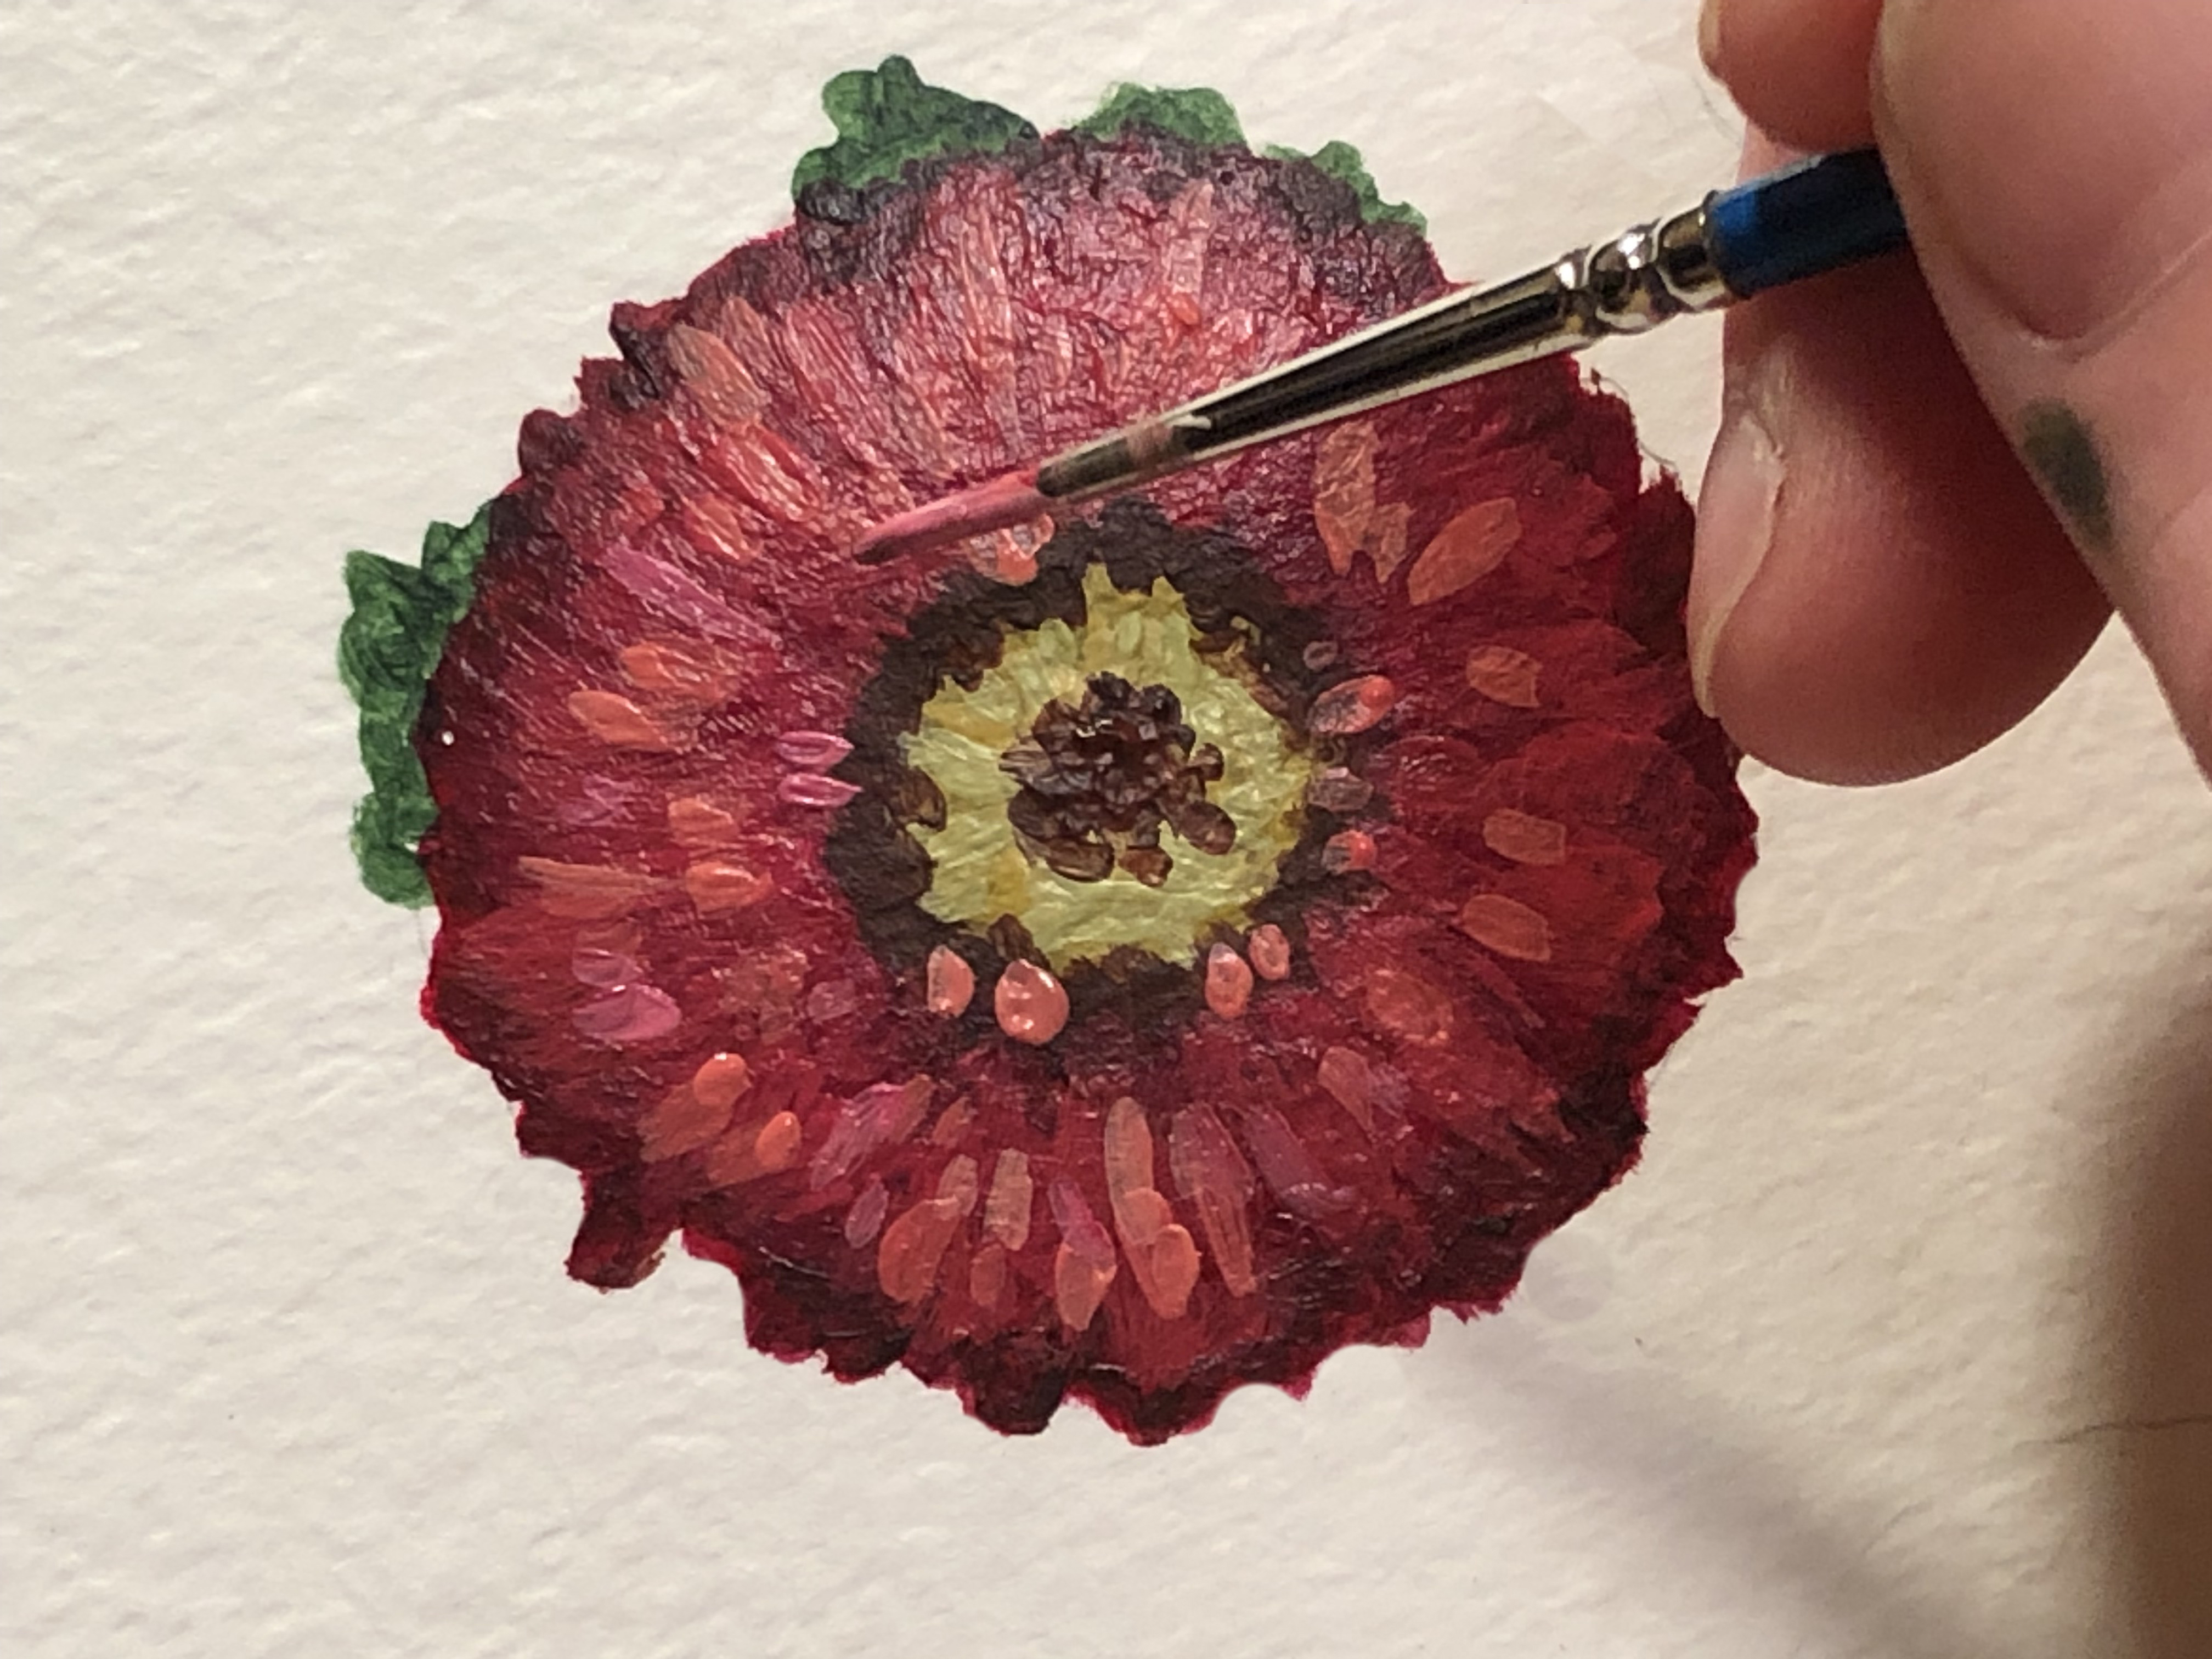
Mix up some lighter red to start adding value to the outside of the flower by adding in some cadmium yellow and titan buff to the original red you mixed and applying it in short strokes with your smaller round brush. The lighter colors create form by indicating where the petals are catching the light. Be careful not to go too light too quickly and keep in mind that acrylic paints dry darker than when they are first applied. A gradual change in value will look more realistic. If you go too light, you can always add some more of the original color and work back and forth until you get it to look just right. Continue mixing a variety of lighter reds for the outside and yellows for the center and add more detail.
STEP 11:
Continue adjusting and adding details until you get the flower to look like you want it.
That’s it! I hope you enjoyed this little tutorial and if you have any questions or comments, please leave them in the comments section below. I’d love to hear what you think!
If you would like to learn more acrylic painting techniques, please check out my classes on skillshare.com and follow me there to be alerted whenever I release a new class. Use this link to get two free months of skillshare so that you can check out some classes and see what you think. Happy painting!



Can’t wait to try this out, Bonnie!
Awesome, Amanda! Let me know how it goes:)
Love it thank you so much you make it easy
Thanks so much!