This quick and easy DIY Home Decor project will show you how to create your very own pressed leaf artwork and add a touch of nature to your existing home decor.
With only 5 supplies and 3 simple steps, you can have your new wall decor completed and displayed in about 5 to 10 minutes. SERIOUSLY!
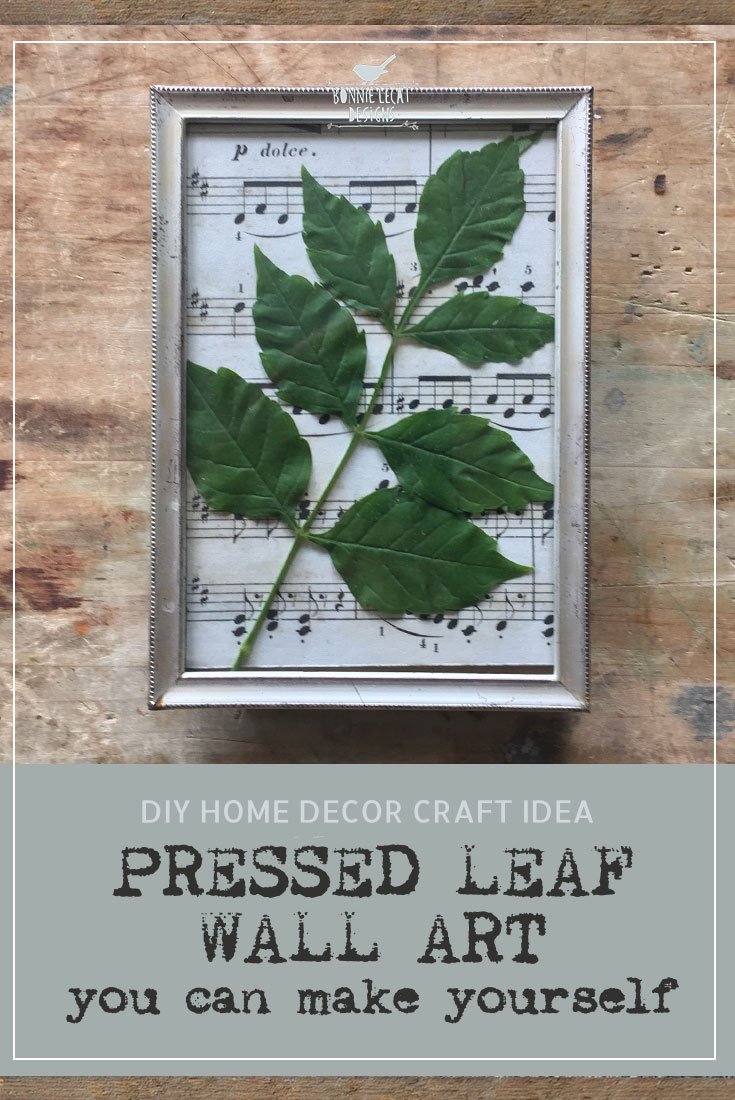
I originally made this bohemian style piece when creating a gallery wall display for my gallery wall challenge. I wanted something with some texture that was very “homemade” and kind of vintage looking so I rummaged around in my studio, found this cute little silver frame I bought at Goodwill for a quarter and some old sheet music I salvaged from my uncle’s attic. I thought a leaf would be the perfect addition, so I walked outside and picked a few to try.
I love how it looked so much, I wanted to share my process.
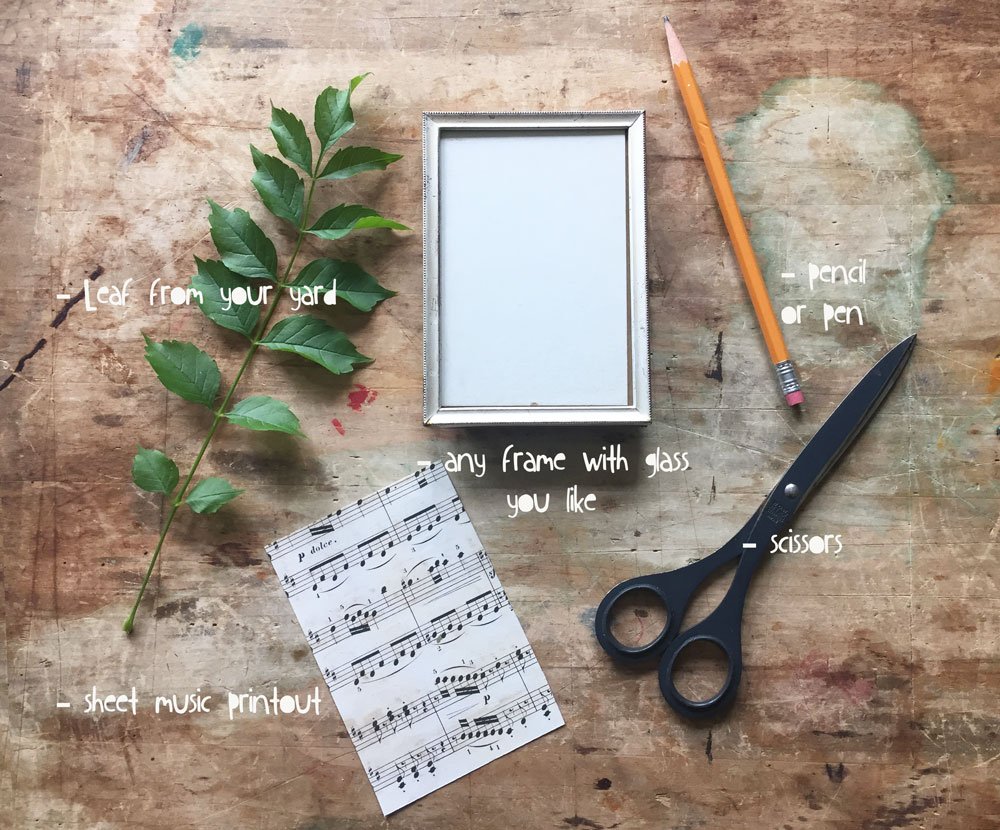
Here’s what you will need to create your own:
+ Any sized frame you like that has glass. I bought mine at Goodwill for a quarter.
+ A branch or some pretty leaves from your yard that would fit inside your frame.
+ Some vintage sheet music (you can download it here and print it as many times as you wish)
+ A pencil
+ Some scissors
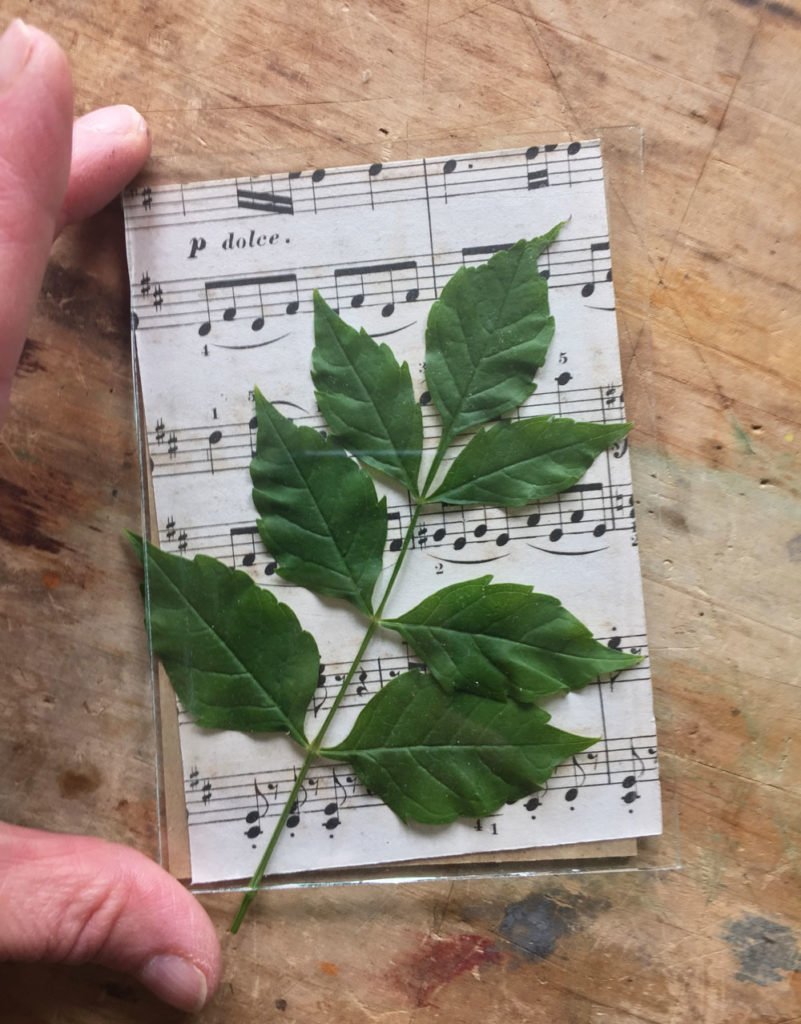
STEP 1) Remove the glass or cardboard insert from your frame and place it over the sheet music print out. Use your pencil to trace around the edge and cut the sheet music to that size.

STEP 2) Set the leaf over the top of the music and place the glass on top to keep it in place. Trim any excess, if necessary.
STEP 3) Put all of the pieces back in the frame and your artwork is ready to display. So cute and easy, right?

If you have been thinking of creating your own gallery wall, this project is a great way to easily add a very “natural”, graphic, and affordable piece to your display. With time, your leaf will age and change colors, giving it an even more “vintage” look.
Once you’ve created your new artwork, please post it on Instagram and tag it with #createwithbonnielecat so I can see what you’ve made. I can’t wait to see what you come up with:)